Customizing .NET MAUI Shell
[删除(380066935@qq.com或微信通知)]
更好的阅读体验请查看原文:https://vladislavantonyuk.github.io/articles/Customizing-.NET-MAUI-Shell/
Happy birthday .NET MAUI!
Today is one year since the first release of .NET MAUI. For this year we saw a lot of features and improvements and each day .NET MAUI becomes more and more stable. One of the main features of .NET MAUI is Shell.
.NET MAUI Shell is an application container provided by the .NET MAUI to facilitate the development of cross-platform applications. It offers a variety of features such as navigation, integrated search, and many customizable components that enhance the application's appearance and performance.
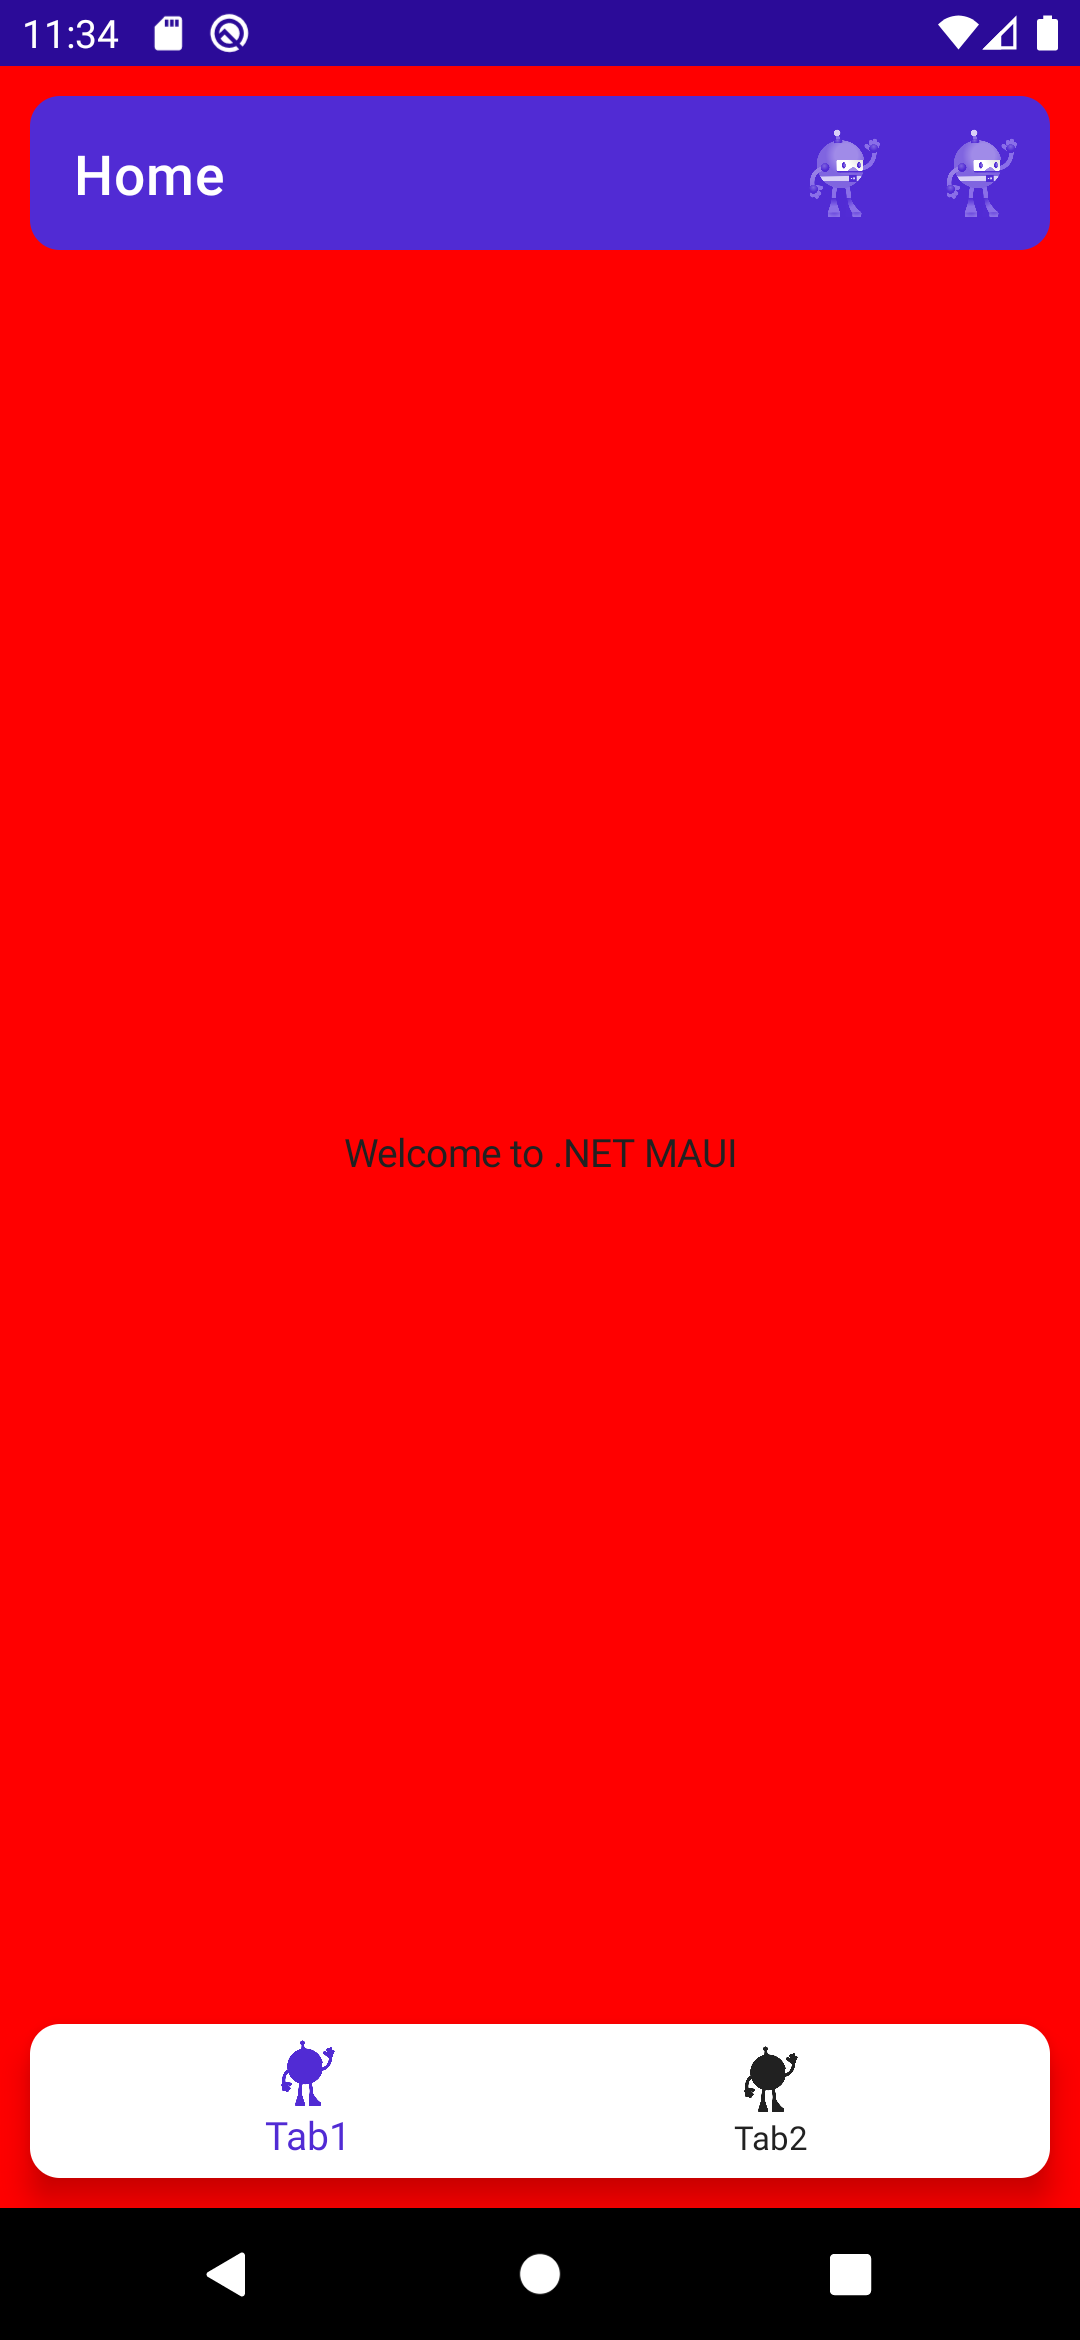
Customizing .NET MAUI Shell for Android
To customize your .NET MAUI Shell app for Android, you can change various components of the ShellRenderer class in the Platforms/Android/ directory of your application. Here's an example:
- Create a custom ShellRenderer class:
class CustomShellHandler : ShellRenderer
{
	protected override IShellBottomNavViewAppearanceTracker CreateBottomNavViewAppearanceTracker(ShellItem shellItem)
	{
		return new CustomBottomNavViewAppearanceTracker(this, shellItem.CurrentItem);
	}

	protected override IShellToolbarAppearanceTracker CreateToolbarAppearanceTracker()
	{
		return new CustomShellToolbarAppearanceTracker(this);
	}
}
- To customize
BottomNavViewcreate a new classCustomBottomNavViewAppearanceTracker. It adds rounded corners and margins:
class CustomShellBottomNavViewAppearanceTracker : ShellBottomNavViewAppearanceTracker
{
	private readonly IShellContext shellContext;

	public CustomShellBottomNavViewAppearanceTracker(IShellContext shellContext, ShellItem shellItem) : base(shellContext, shellItem)
	{
		this.shellContext = shellContext;
	}

	public override void SetAppearance(BottomNavigationView bottomView, IShellAppearanceElement appearance)
	{
		base.SetAppearance(bottomView, appearance);
		var backgroundDrawable = new GradientDrawable();
		backgroundDrawable.SetShape(ShapeType.Rectangle);
		backgroundDrawable.SetCornerRadius(30);
		backgroundDrawable.SetColor(appearance.EffectiveTabBarBackgroundColor.ToPlatform());
		bottomView.SetBackground(backgroundDrawable);

		var layoutParams = bottomView.LayoutParameters;
		if (layoutParams is ViewGroup.MarginLayoutParams marginLayoutParams)
		{
			var margin = 30;
			marginLayoutParams.BottomMargin = margin;
			marginLayoutParams.LeftMargin = margin;
			marginLayoutParams.RightMargin = margin;
			bottomView.LayoutParameters = layoutParams;
		}
	}

	protected override void SetBackgroundColor(BottomNavigationView bottomView, Color color)
	{
		base.SetBackgroundColor(bottomView, color);
		bottomView.RootView?.SetBackgroundColor(shellContext.Shell.CurrentPage.BackgroundColor.ToPlatform());
	}
}
- Similar to the
BottomNavView, to customizeToolbarcreate a new classCustomShellToolbarAppearanceTracker. It adds rounded corners and margins:
class CustomShellToolbarAppearanceTracker : ShellToolbarAppearanceTracker
{
	public CustomShellToolbarAppearanceTracker(IShellContext shellContext) : base(shellContext)
	{
	}

	public override void SetAppearance(Toolbar toolbar, IShellToolbarTracker toolbarTracker, ShellAppearance appearance)
	{
		base.SetAppearance(toolbar, toolbarTracker, appearance);
		var backgroundDrawable = new GradientDrawable();
		backgroundDrawable.SetShape(ShapeType.Rectangle);
		backgroundDrawable.SetCornerRadius(30);
		backgroundDrawable.SetColor(appearance.BackgroundColor.ToPlatform());
		toolbar.SetBackground(backgroundDrawable);

		var layoutParams = toolbar.LayoutParameters;
		if (layoutParams is ViewGroup.MarginLayoutParams marginLayoutParams)
		{
			var margin = 30;
			marginLayoutParams.TopMargin = margin;
			marginLayoutParams.BottomMargin = margin;
			marginLayoutParams.LeftMargin = margin;
			marginLayoutParams.RightMargin = margin;
			toolbar.LayoutParameters = layoutParams;
		}
	}
}
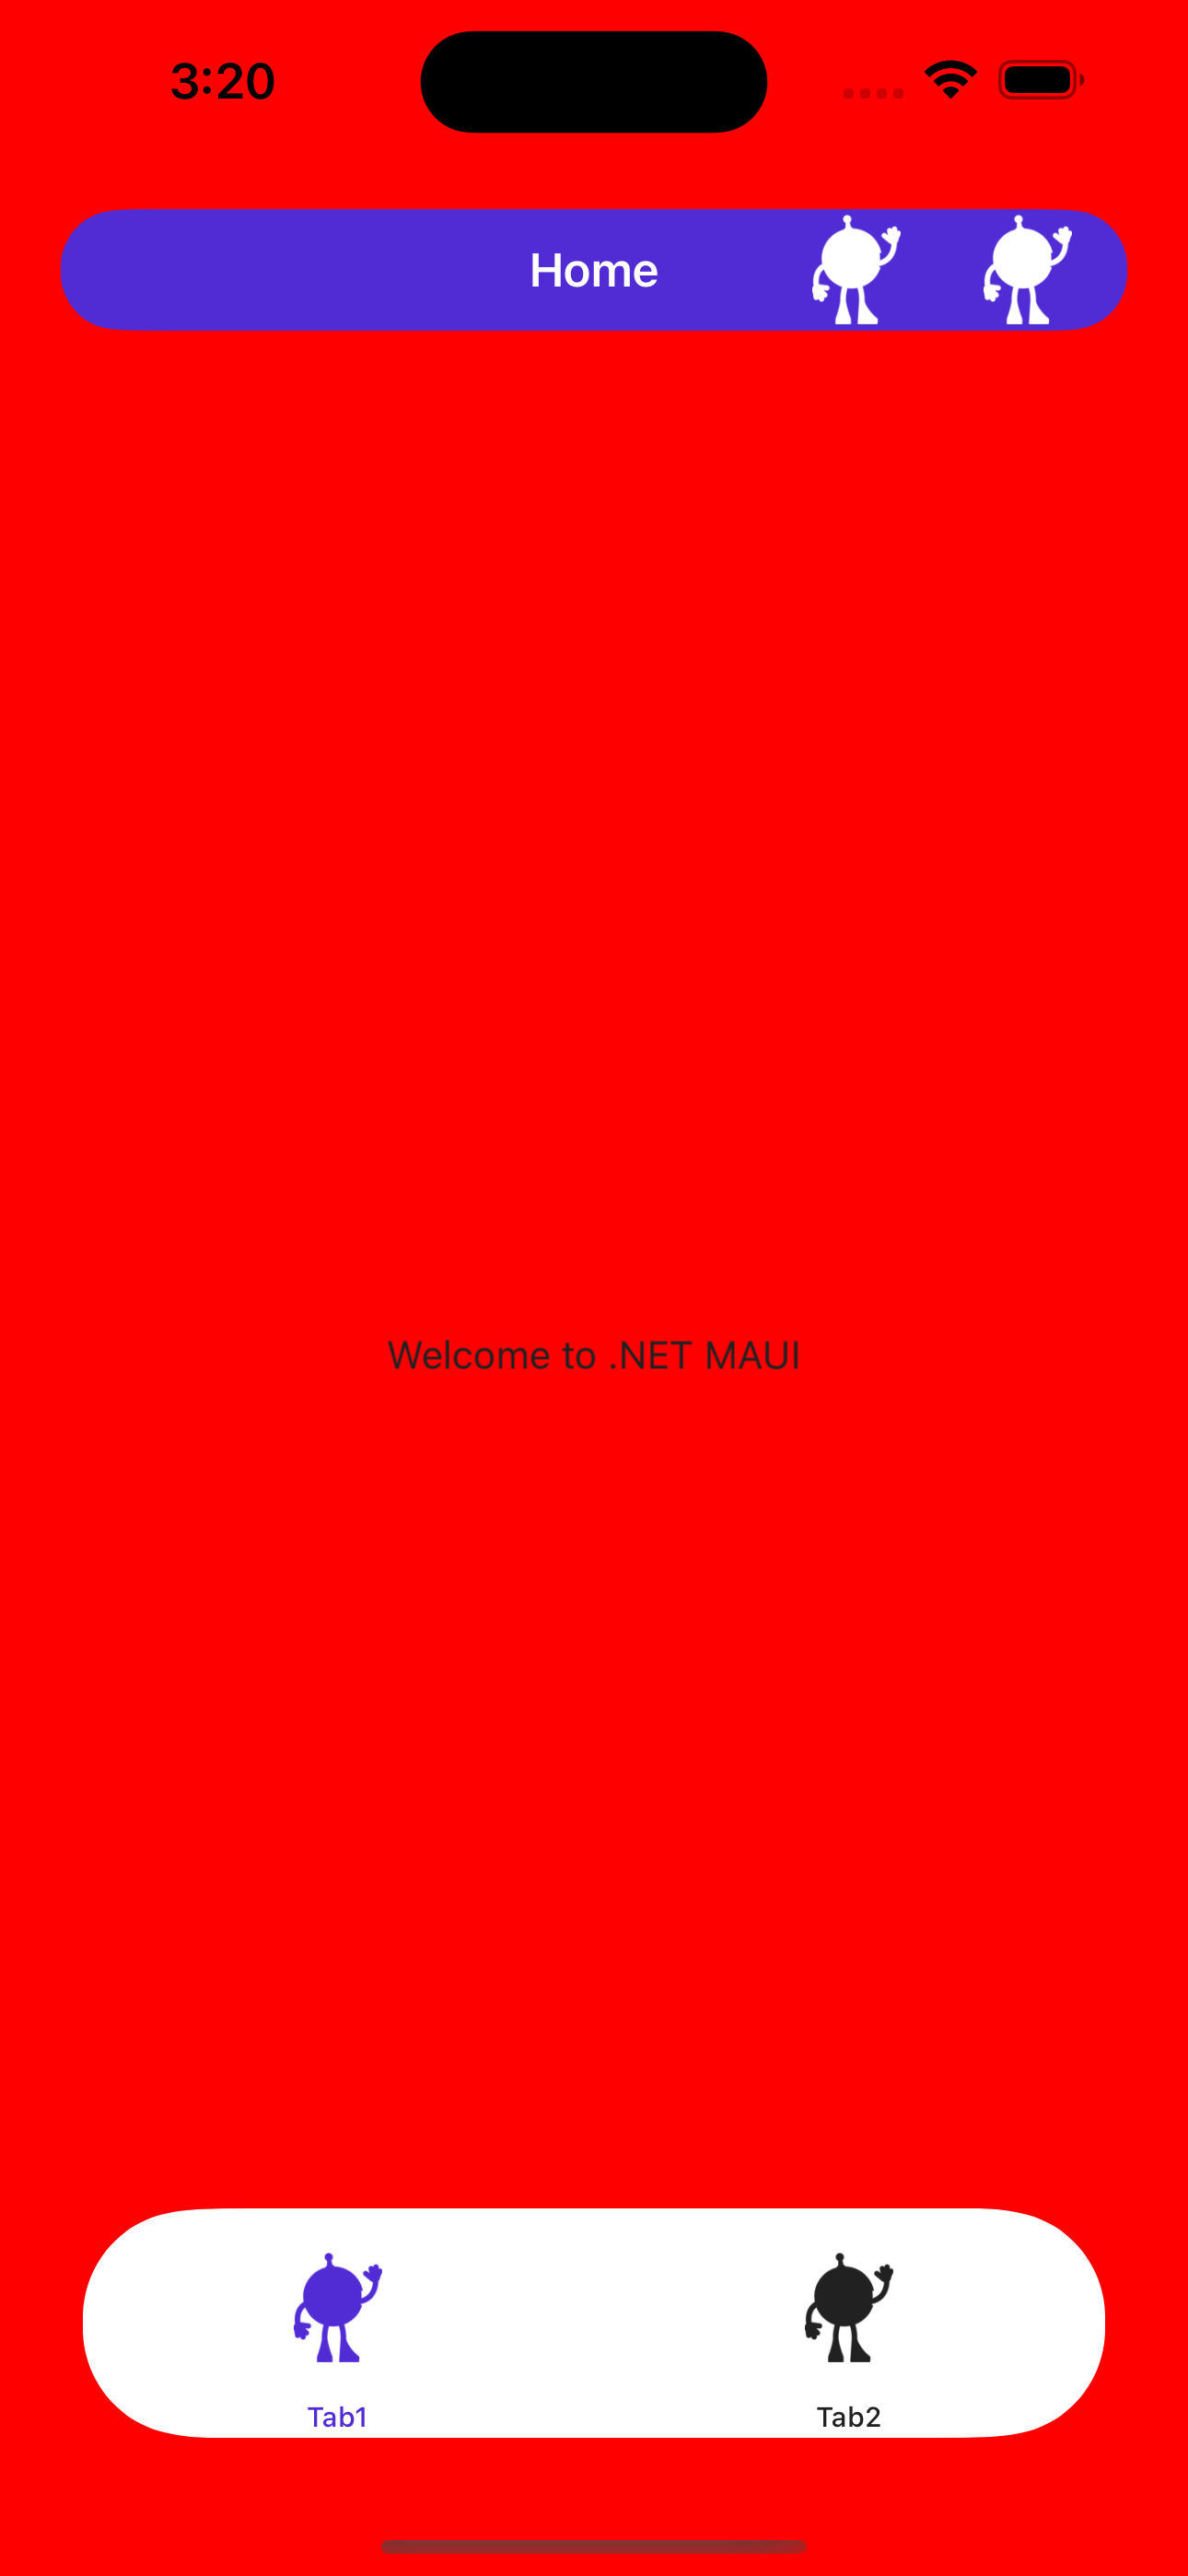
Customizing .NET MAUI Shell for iOS/MacCatalyst
Similar to customizing Android, you can make customizations for iOS and MacCatalyst by modifying the ShellRenderer class in the Platforms/iOS/ and Platforms/MacCatalyst/ directories of your application.
- Create a custom ShellRenderer class:
class CustomShellHandler : ShellRenderer
{
	protected override IShellTabBarAppearanceTracker CreateTabBarAppearanceTracker()
	{
		return new CustomShellTabBarAppearanceTracker();
	}

	protected override IShellNavBarAppearanceTracker CreateNavBarAppearanceTracker()
	{
		return new CustomShellNavBarAppearanceTracker(this, base.CreateNavBarAppearanceTracker());
	}
}
- To customize
TabBarcreate a new classCustomShellTabBarAppearanceTracker. It adds rounded corners and margins:
class CustomShellTabBarAppearanceTracker : ShellTabBarAppearanceTracker
{
	public override void UpdateLayout(UITabBarController controller)
	{
		base.UpdateLayout(controller);
		const int bottomSpace = 50;
		const int margin = 30;
		controller.TabBar.Frame = new CoreGraphics.CGRect(
			controller.TabBar.Frame.X + margin,
			controller.TabBar.Frame.Y - bottomSpace,
			controller.TabBar.Frame.Width - 2 * margin,
			controller.TabBar.Frame.Height
		);

		const int cornerRadius = 30;
		var uIBezierPath = UIBezierPath.FromRoundedRect(
			controller.TabBar.Bounds,
			UIRectCorner.AllCorners,
			new CoreGraphics.CGSize(cornerRadius, cornerRadius)
		);

		var cAShapeLayer = new CAShapeLayer
		{
			Frame = controller.TabBar.Bounds,
			Path = uIBezierPath.CGPath
		};
		controller.TabBar.Layer.Mask = cAShapeLayer;
	}
}
- Similar to the
TabBar, to customizeToolbarcreate a new classCustomShellToolbarAppearanceTracker. It adds rounded corners and margins:
class CustomShellToolbarAppearanceTracker : IShellNavBarAppearanceTracker
{
	private readonly IShellContext shellContext;
	private readonly IShellNavBarAppearanceTracker baseTracker;

	public CustomShellToolbarAppearanceTracker(IShellContext shellContext, IShellNavBarAppearanceTracker baseTracker)
	{
		this.shellContext = shellContext;
		this.baseTracker = baseTracker;
	}

	public void Dispose()
	{
		baseTracker.Dispose();
	}

	public void ResetAppearance(UINavigationController controller)
	{
		baseTracker.ResetAppearance(controller);
	}

	public void SetAppearance(UINavigationController controller, ShellAppearance appearance)
	{
		baseTracker.SetAppearance(controller, appearance);
		if (controller.View is not null && shellContext.Shell.CurrentPage is not null)
		{
			controller.View.BackgroundColor = shellContext.Shell.CurrentPage.BackgroundColor.ToPlatform();
		}
	}

	public void UpdateLayout(UINavigationController controller)
	{
		baseTracker.UpdateLayout(controller);
		var topSpace = controller.NavigationBar.Bounds.Height / 2;
		controller.NavigationBar.Frame = new CoreGraphics.CGRect(
			controller.NavigationBar.Frame.X + topSpace,
			controller.NavigationBar.Frame.Y + topSpace,
			controller.NavigationBar.Frame.Width - 2 * topSpace,
			controller.NavigationBar.Frame.Height
		);

		const int cornerRadius = 30;
		var uIBezierPath = UIBezierPath.FromRoundedRect(
			controller.NavigationBar.Bounds,
			UIRectCorner.AllCorners,
			new CoreGraphics.CGSize(cornerRadius, cornerRadius)
		);

		var cAShapeLayer = new CAShapeLayer
		{
			Frame = controller.NavigationBar.Bounds,
			Path = uIBezierPath.CGPath
		};
		controller.NavigationBar.Layer.Mask = cAShapeLayer;
	}

	public void SetHasShadow(UINavigationController controller, bool hasShadow)
	{
		baseTracker.SetHasShadow(controller, hasShadow);
	}
}
Summary
The final step is registering our handlers:
public static class MauiProgram
{
	public static MauiApp CreateMauiApp()
	{
		var builder = MauiApp.CreateBuilder();
		builder.UseMauiApp<App>().UseMauiMaps();
		builder.ConfigureMauiHandlers(handlers =>
		{
			handlers.AddHandler<Shell, CustomShellHandler>();
		});

		return builder.Build();
	}
}
That's all we need to customize .NET MAUI Shell. Run the application and see the result:
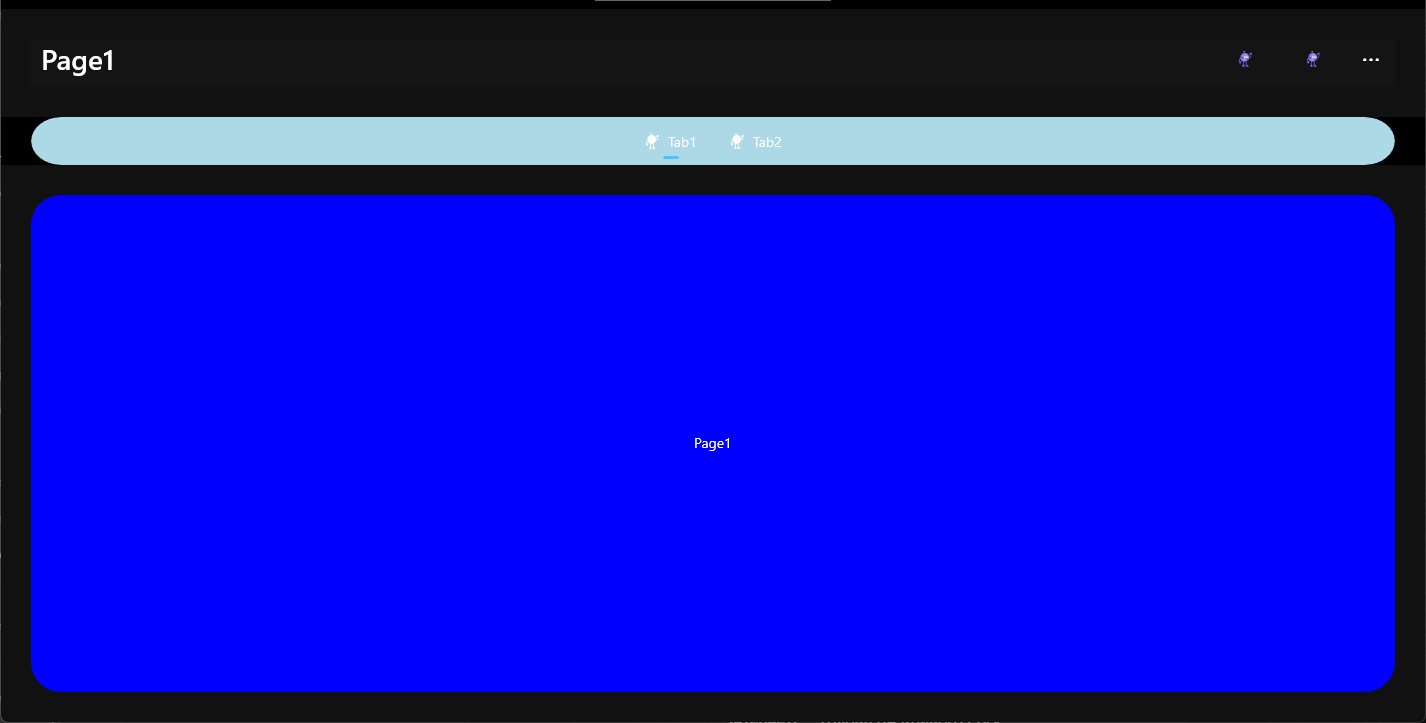
The full code can be found on GitHub.
Happy coding!